


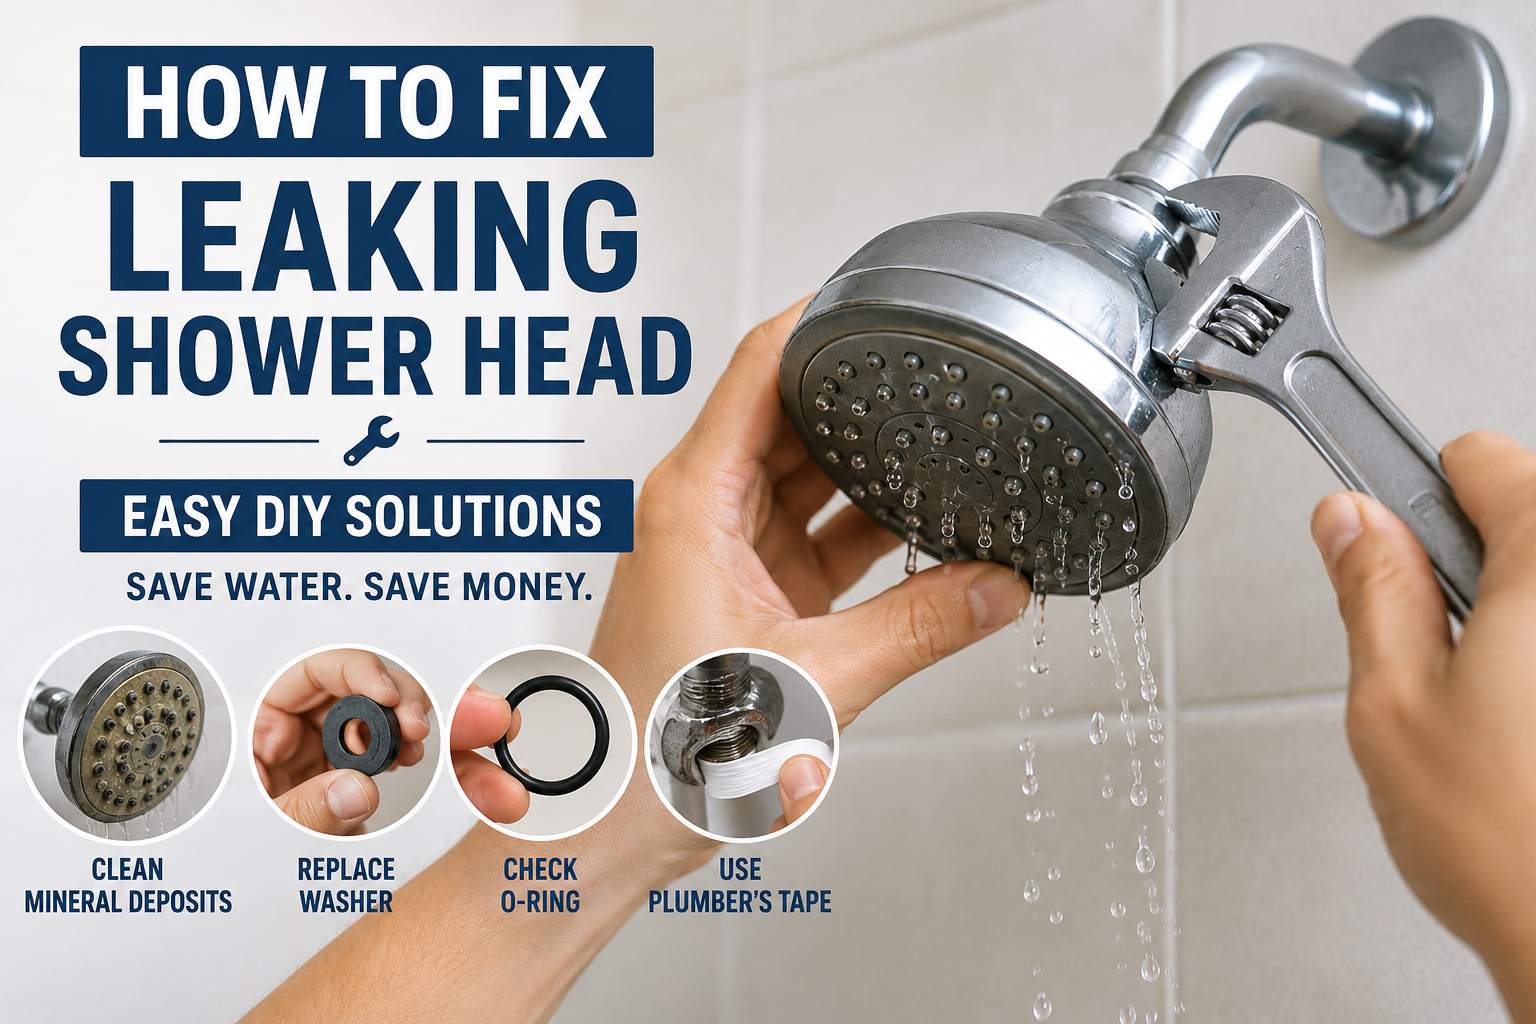
A dripping shower head may seem like a small problem, but over time it can waste a surprising amount of water and increase utility bills. The good news is that learning how to fix leaking shower head issues is usually simple and does not require professional plumbing skills.
Many homeowners ignore a minor drip because it appears harmless. However, even a slow leak can waste hundreds of gallons of water each year. As the saying goes, “Small leaks can sink big ships,” and the same principle applies to household plumbing.
This guide explains how to fix leaking shower head problems step by step using simple tools and easy-to-follow instructions.
Why Is Your Shower Head Leaking?
Before learning how to fix leaking shower head issues, it helps to understand what causes them.
A shower head may leak because of worn-out washers, damaged O-rings, mineral buildup, loose connections, or problems with the shower valve itself.
In many cases, the issue develops gradually. What starts as an occasional drip can eventually become a constant leak.
Identifying the root cause first makes the repair process faster and more effective.
Signs That Your Shower Head Needs Repair
Look for these common warning signs:
- Constant dripping after the water is turned off
- Water leaking around connection points
- Reduced water pressure
- Uneven spray patterns
- Whistling or unusual sounds from the shower head
If you notice any of these symptoms, it’s time to learn how to fix leaking shower head problems before they worsen.
Tools You May Need
Most repairs require only basic household tools.
Common Tools
- Adjustable wrench
- Screwdriver
- Plumber’s tape (Teflon tape)
- Needle-nose pliers
- Soft cloth
Replacement Parts
- Rubber washers
- O-rings
- Shower cartridge (if necessary)
Having these items ready can make the repair process much smoother.
Step 1: Turn Off the Water Supply
The first step in how to fix leaking shower head repairs is ensuring safety.
Turn off the water supply before removing any parts. Some homes have dedicated bathroom shut-off valves, while others require shutting off the main water supply.
This prevents accidental water flow during the repair.
Step 2: Inspect the Shower Head
Carefully examine the shower head for visible damage.
Look for cracks, corrosion, or loose fittings. Sometimes the leak is caused by a connection that simply needs tightening.
Wrap a cloth around the fixture before using a wrench to avoid scratching the finish.
A quick inspection often reveals the source of the problem.
Step 3: Clean Mineral Deposits
Hard water can cause mineral buildup inside the shower head.
These deposits may block water flow and prevent internal components from sealing properly.
Remove the shower head and soak it in white vinegar for several hours.
After soaking, scrub the nozzles gently with an old toothbrush.
This simple cleaning method often solves minor leaking issues.
Step 4: Replace the Washer
A worn washer is one of the most common causes of leaks.
When learning how to fix leaking shower head problems, replacing the washer is often the first repair plumbers recommend.
Remove the old washer and inspect it carefully. If it appears cracked, flattened, or damaged, install a new one of the same size.
Even a small rubber washer plays a major role in preventing leaks.
Step 5: Check the O-Ring
Many modern shower heads contain an O-ring that creates a watertight seal.
Over time, this ring can wear out or become brittle.
Remove the old O-ring and replace it if necessary.
A fresh O-ring can often eliminate persistent drips immediately.
Think of it as replacing the gasket on a food container—without a proper seal, leaks are inevitable.
Step 6: Apply Plumber’s Tape
Loose threaded connections frequently cause leaks.
Wrap plumber’s tape clockwise around the shower arm threads two or three times.
This helps create a tighter seal when reinstalling the shower head.
Many homeowners are surprised by how often this simple fix resolves the issue completely.
Step 7: Tighten the Connections
Reattach the shower head carefully.
Tighten it securely but avoid overtightening, which can damage threads or crack plastic components.
Turn the water back on and observe whether the leak has stopped.
A balanced approach works best.
Step 8: Inspect the Shower Cartridge
If the shower head continues leaking, the problem may not be the shower head itself.
The shower cartridge controls water flow inside the faucet.
A worn cartridge can allow water to pass through even when the handle is turned off.
Replacing a cartridge is a slightly more advanced repair but often solves stubborn leaks.
When researching how to fix leaking shower head problems, many homeowners discover that the cartridge is the real culprit.
How to Replace a Shower Cartridge
First, remove the shower handle.
Locate the cartridge behind the trim plate.
Pull out the old cartridge and compare it with the replacement to ensure a match.
Install the new cartridge according to the manufacturer’s instructions.
After reassembly, test the shower to confirm the leak is gone.
Common Mistakes to Avoid
When working on how to fix leaking shower head repairs, avoid these errors:
- Forgetting to shut off the water supply
- Using the wrong replacement parts
- Overtightening fittings
- Ignoring mineral buildup
- Skipping plumber’s tape
Small mistakes can turn a simple repair into a larger plumbing issue.
How Much Water Can a Leaking Shower Head Waste?
Many people underestimate the impact of a drip.
A shower head that leaks once per second can waste thousands of gallons of water annually.
This unnecessary water usage increases utility bills and places additional strain on water resources.
Fixing the leak promptly saves both money and water.
When Should You Replace the Entire Shower Head?
Sometimes repairing is not enough.
Consider replacement if:
- The shower head is heavily corroded
- Cracks are visible
- Multiple components have failed
- Water pressure remains poor after repairs
Modern shower heads are often inexpensive and more water-efficient than older models.
In some situations, replacement is the most practical solution.
Preventing Future Leaks
Once you’ve learned how to fix leaking shower head problems, prevention becomes much easier.
Follow these maintenance tips:
- Clean the shower head regularly
- Remove mineral deposits every few months
- Inspect washers annually
- Avoid excessive force when tightening
- Address small drips immediately
Regular maintenance helps extend the lifespan of your plumbing fixtures.
DIY Repair vs. Hiring a Plumber
Most shower head leaks are DIY-friendly.
Simple repairs such as cleaning, replacing washers, or applying plumber’s tape can usually be completed within an hour.
However, if the leak originates inside the wall or involves complicated plumbing components, professional assistance may be the better option.
A good rule is: if the repair requires opening walls or modifying pipes, call a plumber.
Frequently Asked Questions
Can a leaking shower head increase my water bill?
Yes. Even a small drip can waste significant amounts of water over time and raise monthly utility costs.
Is plumber’s tape necessary?
In many cases, yes. It helps create a watertight seal on threaded connections and prevents leaks.
Why does my shower head leak after replacing the washer?
The issue may be a damaged O-ring, mineral buildup, loose threads, or a faulty shower cartridge.
How long does it take to fix a leaking shower head?
Most repairs take between 15 and 60 minutes depending on the cause.
Can hard water cause shower head leaks?
Yes. Mineral deposits from hard water can interfere with seals and internal components.
Final Thoughts
Learning how to fix leaking shower head issues can save money, conserve water, and prevent long-term plumbing problems. In many cases, the solution is as simple as replacing a washer, cleaning mineral deposits, or tightening a connection.
Remember that a small drip today can become a larger problem tomorrow. Taking a few minutes to inspect and repair your shower head can make a noticeable difference in both water usage and household maintenance costs.
As homeowners often discover, knowing how to fix leaking shower head problems is one of the most useful DIY plumbing skills you can learn.