


Introduction
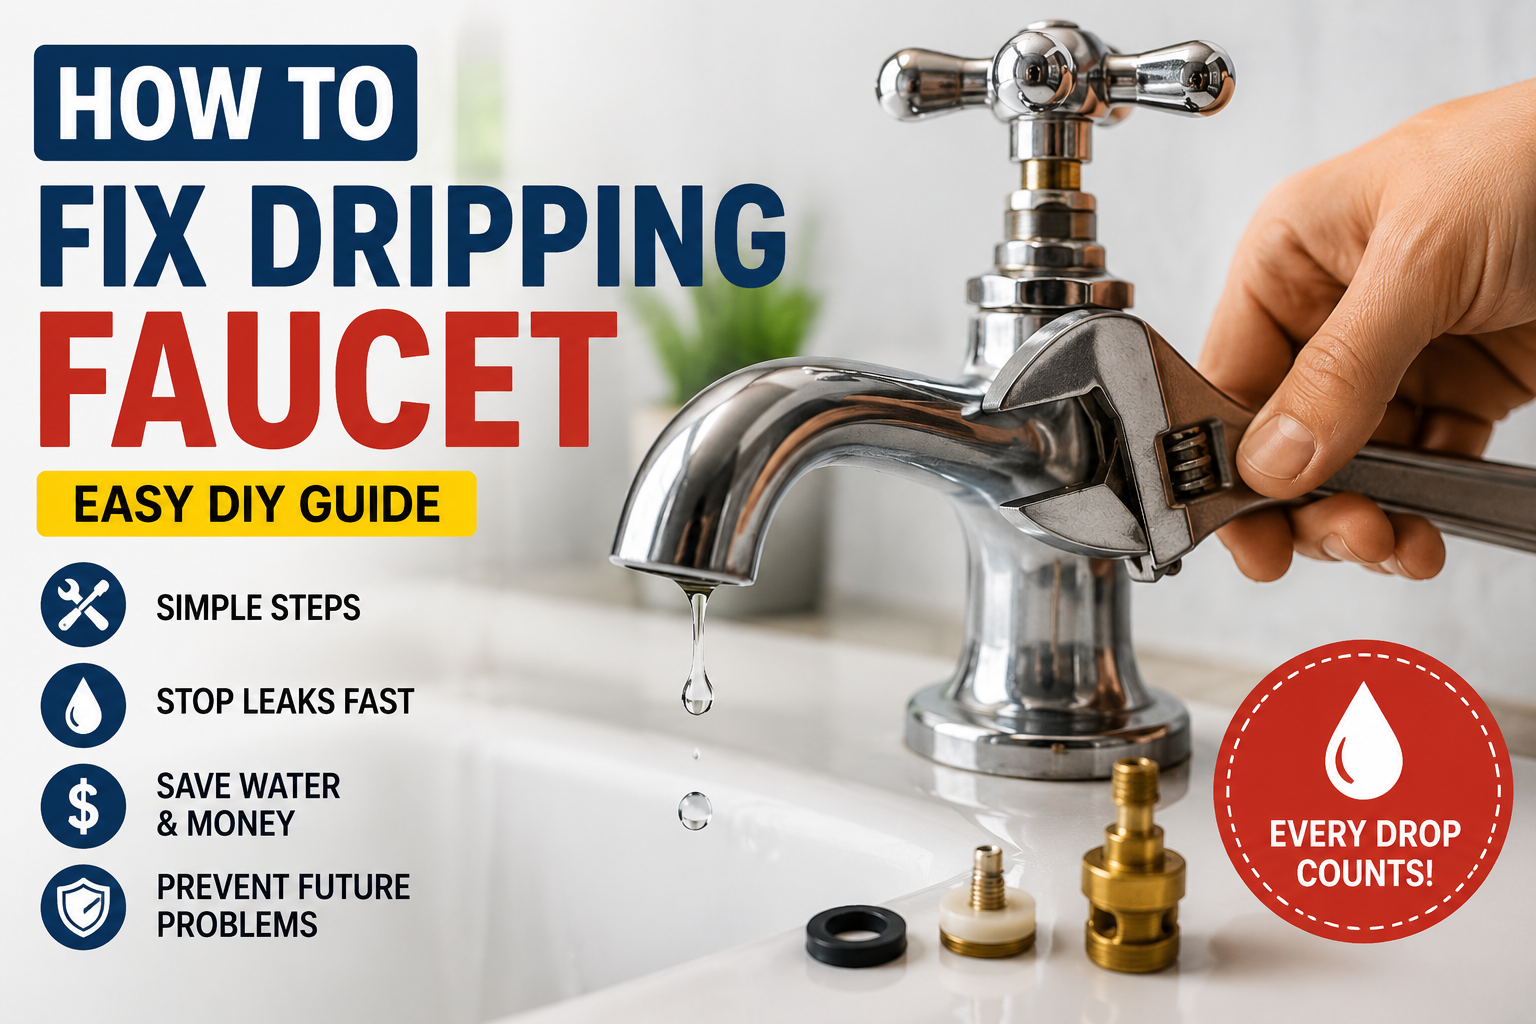
A dripping faucet may seem like a small problem, but it can waste a surprising amount of water over time. The constant dripping sound can also become frustrating, especially at night. The good news is that learning how to fix dripping faucet issues is often easier than many homeowners think.
Whether the leak is coming from your kitchen sink, bathroom sink, or outdoor faucet, understanding how to fix dripping faucet problems can save money on water bills and prevent further plumbing damage. As the saying goes, “Small leaks sink big ships,” and the same idea applies to household plumbing.
This guide explains everything you need to know about how to fix dripping faucet leaks, from identifying the cause to completing the repair safely and effectively.
Why Faucets Start Dripping
Before learning how to fix dripping faucet problems, it helps to understand why they happen.
Most faucet leaks occur because internal parts wear out after years of use. Every time you turn the handle, components move and create friction. Eventually, some parts stop sealing properly.
Common causes include:
- Worn-out washers
- Damaged O-rings
- Corroded valve seats
- Faulty cartridges
- Loose components
- High water pressure
Think of a faucet like a door hinge. If the hinge becomes worn or loose, the door will not close properly. Similarly, worn faucet parts prevent water from shutting off completely.
Signs Your Faucet Needs Repair
Sometimes a faucet problem starts before visible dripping appears.
Watch for these warning signs:
- Water dripping from the spout
- Water around the faucet base
- Squeaking or grinding sounds
- Difficulty turning handles
- Reduced water flow
- Rust or mineral buildup
Addressing these issues early makes how to fix dripping faucet repairs much simpler and less expensive.
Tools You May Need
Most faucet repairs require only basic household tools.
Gather these items before starting:
- Adjustable wrench
- Screwdrivers
- Plumber’s tape
- Replacement washers
- Replacement O-rings
- Faucet cartridge (if needed)
- Needle-nose pliers
- Clean cloth
Having everything ready prevents interruptions during the repair process.
Step 1: Turn Off the Water Supply
The first step in how to fix dripping faucet repairs is shutting off the water.
Look beneath the sink for shutoff valves. Turn them clockwise until fully closed.
After shutting off the valves:
- Open the faucet
- Allow remaining water to drain
- Place a towel in the sink
This prevents accidental flooding and makes repairs safer.
Step 2: Identify Your Faucet Type
Different faucets require different repair methods.
Compression Faucets
Compression faucets have separate hot and cold handles.
These are among the most common faucet types and usually leak because of worn washers.
Cartridge Faucets
Cartridge faucets use a movable cartridge inside the handle.
A damaged cartridge often causes dripping and inconsistent water flow.
Ball Faucets
Ball faucets are common in kitchens and usually have a single handle.
Leaks often result from worn seals or springs.
Ceramic Disc Faucets
These modern faucets contain ceramic discs that control water flow.
Although durable, they can develop leaks due to damaged seals or debris.
Knowing the faucet type is essential when learning how to fix dripping faucet issues correctly.
How to Fix a Compression Faucet
Compression faucets are often the easiest to repair.
Remove the decorative cap on the handle and unscrew the handle assembly.
Next:
- Remove the packing nut.
- Pull out the stem.
- Inspect the washer at the bottom.
- Replace the worn washer.
- Reassemble the faucet.
In many cases, a simple washer replacement completely stops the leak.
This is one of the most common solutions when homeowners search for how to fix dripping faucet problems.
How to Fix a Cartridge Faucet
If you have a cartridge faucet, start by removing the handle.
Once exposed:
- Remove the retaining clip
- Pull out the cartridge
- Check for cracks or wear
- Install a matching replacement cartridge
After reassembly, turn the water back on and test the faucet.
A new cartridge often restores the faucet to like-new performance.
How to Fix a Ball Faucet
Ball faucets contain several small components.
Carefully disassemble the faucet and inspect:
- Springs
- Rubber seals
- Ball assembly
Replace worn parts using a faucet repair kit.
Because ball faucets contain multiple moving pieces, take photos during disassembly to help with reassembly.
This simple trick makes how to fix dripping faucet repairs much easier for beginners.
How to Fix a Ceramic Disc Faucet
Ceramic disc faucets are highly durable but can still leak.
To repair:
- Remove the handle.
- Access the ceramic disc cylinder.
- Inspect rubber seals.
- Clean away debris.
- Replace damaged seals if needed.
Sometimes mineral buildup is the real culprit, so thorough cleaning can solve the issue without replacing major components.
Replacing a Worn Washer
A worn washer is one of the leading causes of faucet leaks.
Washers create a tight seal that prevents water from flowing when the faucet is off.
Over time they can:
- Crack
- Flatten
- Harden
- Tear
Replacing the washer is inexpensive and often solves the problem immediately.
Many people are surprised that a part costing only a few dollars can eliminate months of dripping.
Replacing an O-Ring
An O-ring is a small rubber ring that seals moving parts inside the faucet.
When it wears out, water may leak around the handle rather than the spout.
Signs of a bad O-ring include:
- Water near the handle
- Handle looseness
- Small side leaks
Replacing the O-ring is another important step in how to fix dripping faucet repairs.
Cleaning Mineral Deposits
Hard water leaves mineral deposits inside faucets.
Over time, these deposits interfere with proper sealing.
To clean buildup:
- Remove affected parts
- Soak them in white vinegar
- Scrub gently with a brush
- Rinse thoroughly
Many homeowners discover that cleaning deposits completely solves the leak.
As plumbers often say, “A clean faucet works better than a new part installed on top of old buildup.”
Checking the Valve Seat
The valve seat connects the faucet to the spout.
Corrosion or mineral buildup can damage this area and create leaks.
Inspect the valve seat carefully for:
- Rust
- Pitting
- Mineral deposits
- Surface damage
Cleaning or replacing the valve seat may be necessary if leaks continue.
Testing the Repair
After completing the repair:
- Reassemble all components.
- Turn the water supply back on slowly.
- Open and close the faucet several times.
- Check for leaks.
Look around:
- The handle
- The spout
- Under the sink
A successful repair should stop all dripping immediately.
Common Mistakes to Avoid
Many faucet repairs fail because of simple mistakes.
Avoid these common errors:
Using the Wrong Replacement Parts
Always match parts exactly to your faucet model.
Even small differences can cause continued leaks.
Overtightening Components
Excessive force can crack parts or damage threads.
Tighten components securely but gently.
Forgetting to Turn Off Water
Skipping this step can lead to a messy and expensive surprise.
Losing Small Pieces
Place removed parts in a container to keep everything organized.
Avoiding these mistakes makes how to fix dripping faucet projects much smoother.
When to Call a Plumber
While many leaks are easy to repair, some situations require professional help.
Consider calling a plumber if:
- The leak persists after repairs
- Pipes are damaged
- Corrosion is severe
- Water pressure is unusually high
- Multiple fixtures are leaking
Professional assistance can prevent larger plumbing problems.
How Much Water Can a Dripping Faucet Waste?
Many people underestimate the impact of a small leak.
According to plumbing experts, a faucet dripping once every second can waste thousands of gallons of water annually.
That means:
- Higher water bills
- Increased environmental impact
- Unnecessary resource waste
Learning how to fix dripping faucet issues quickly helps conserve both water and money.
Preventing Future Faucet Leaks
Prevention is always easier than repair.
To keep faucets working properly:
- Avoid excessive force when turning handles
- Clean mineral deposits regularly
- Replace worn parts promptly
- Monitor water pressure
- Inspect faucets periodically
A few minutes of maintenance can add years to a faucet’s lifespan.
Real-Life Example
Imagine leaving a small bucket under a dripping faucet.
At first, only a few drops collect. By the next day, the bucket contains a noticeable amount of water. After weeks or months, the waste becomes significant.
This simple example shows why understanding how to fix dripping faucet problems matters. What seems minor today can become costly tomorrow.
Final Thoughts
Learning how to fix dripping faucet issues is a valuable skill for any homeowner. Most faucet leaks are caused by worn washers, O-rings, cartridges, or mineral buildup, and many can be repaired with basic tools in less than an hour.
The key is identifying the faucet type, replacing damaged parts, and testing the repair carefully. Acting quickly not only stops the annoying drip but also saves water, lowers utility costs, and protects your plumbing system.
The next time you hear that familiar drip-drip-drip sound, remember that fixing it may be much simpler than you think. A small repair today can prevent bigger problems tomorrow.