


Introduction
If your internet feels slow, videos keep buffering, or online games lag even when you have a good internet package, the problem may not be your internet provider. In many cases, WiFi interference is the real issue. Learning how to change wifi channel can help improve your connection speed, reduce signal conflicts, and create a more reliable network.
Think of WiFi channels like lanes on a highway. When too many devices use the same lane, traffic builds up and everything slows down. Switching to a less crowded channel can make a noticeable difference in performance.
In this guide, you’ll learn how to change wifi channel, why it matters, and the best practices for choosing the right channel for your network.
What Is a WiFi Channel?
A WiFi channel is a specific frequency range that your router uses to communicate with devices.
Most home routers operate on two frequency bands:
- 2.4 GHz
- 5 GHz
Each band contains multiple channels. When neighboring routers use the same channel, interference can occur, reducing speed and stability.
As the saying goes, “A crowded road slows every traveler.” The same principle applies to WiFi networks.
Why You Should Learn How to Change WiFi Channel
Changing your WiFi channel can solve several common networking problems.
Benefits Include:
- Faster internet speeds
- Better streaming quality
- Reduced buffering
- Lower gaming latency
- Improved signal reliability
- Fewer connection drops
If you live in an apartment building or a densely populated area, learning how to change wifi channel can be especially helpful because many nearby routers compete for the same frequencies.
Signs You Need to Change Your WiFi Channel
Not every network requires channel changes, but certain symptoms suggest it may help.
Common Signs
- Slow WiFi despite a fast internet plan
- Frequent connection interruptions
- Streaming videos buffering often
- Video calls freezing or dropping
- Online gaming lag spikes
- WiFi performance worsening during busy hours
If several of these issues occur regularly, changing channels may provide a quick solution.
Understanding 2.4 GHz and 5 GHz Channels
Before learning how to change wifi channel, it helps to understand the differences between WiFi bands.
2.4 GHz Band
The 2.4 GHz band offers:
- Longer range
- Better wall penetration
- More interference from neighboring networks
The most commonly recommended channels are:
- Channel 1
- Channel 6
- Channel 11
These channels overlap the least and usually provide the best performance.
5 GHz Band
The 5 GHz band offers:
- Faster speeds
- Less interference
- Shorter range
Since more channels are available, congestion is often lower than on 2.4 GHz networks.
How to Find the Best WiFi Channel
Before changing channels, it’s smart to identify which channels are crowded.
Use a WiFi Analyzer Tool
Many free apps can scan nearby networks and show channel usage.
Popular options include:
- WiFi Analyzer
- NetSpot
- WiFi Explorer
- Acrylic Wi-Fi
These tools help identify less congested channels, making it easier to choose the best option.
A good rule is simple: “Measure first, adjust second.”
How to Change WiFi Channel on Most Routers
The exact steps vary slightly by manufacturer, but the overall process is similar.
Step 1: Find Your Router’s IP Address
Common router addresses include:
- 192.168.0.1
- 192.168.1.1
- 192.168.100.1
You can usually find the correct address on the router label.
Step 2: Log Into the Router
Open a web browser and enter the router’s IP address.
Then log in using:
- Admin username
- Router password
If you haven’t changed them before, they may still be listed on the device.
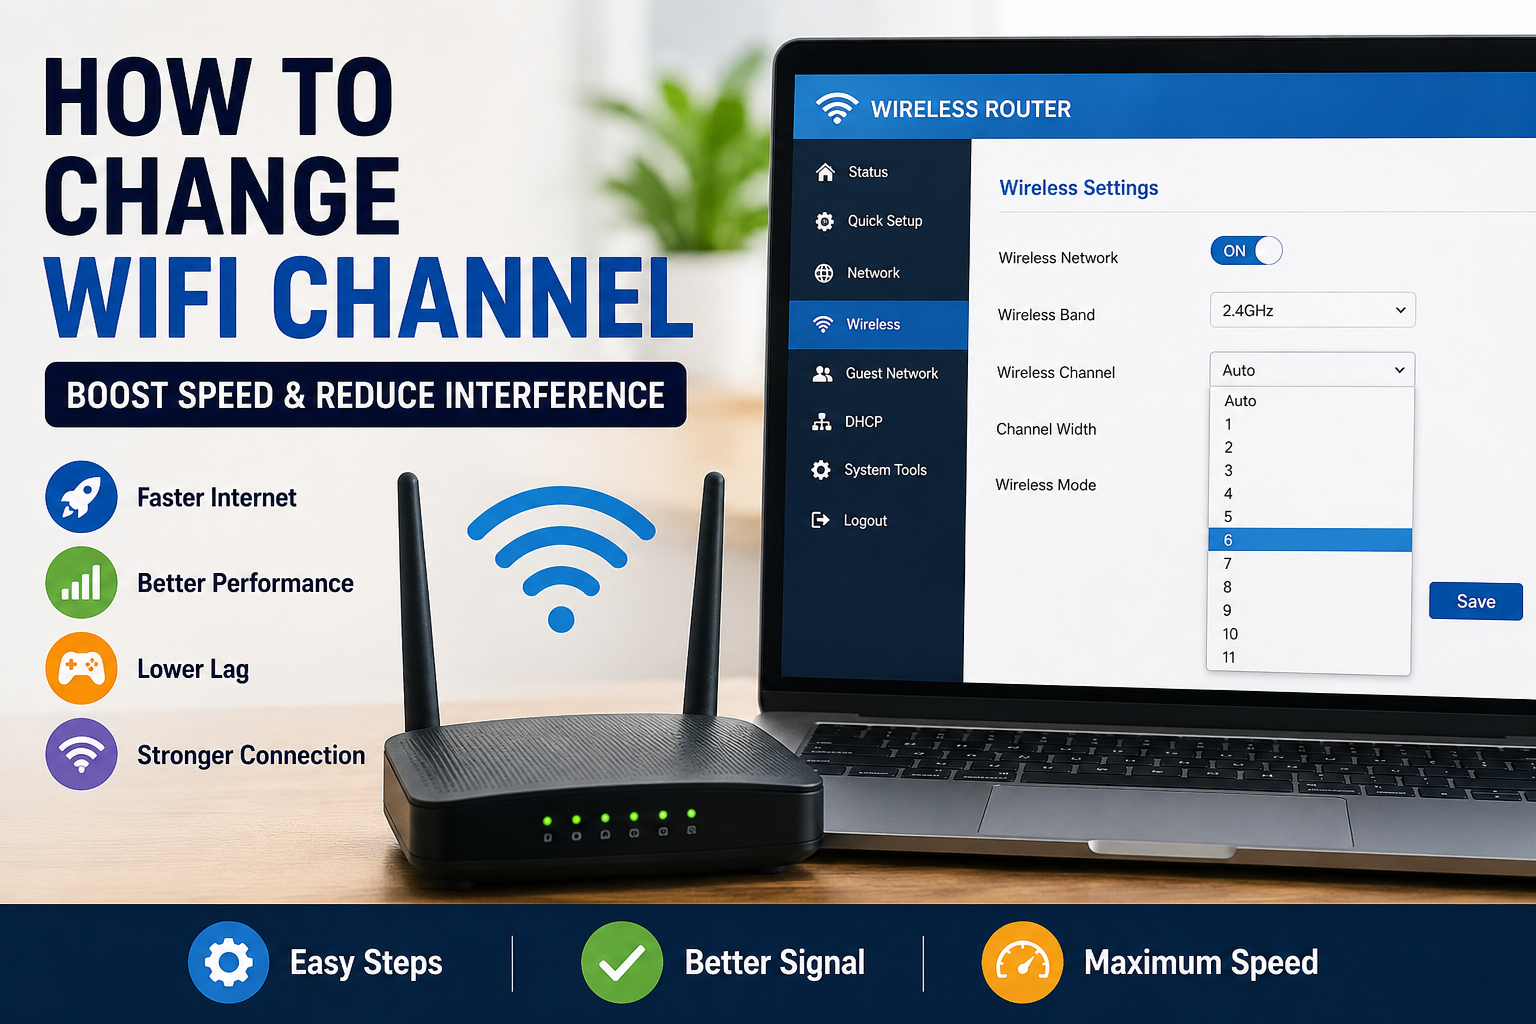
Step 3: Open Wireless Settings
Navigate to sections such as:
- Wireless Settings
- WiFi Settings
- Advanced Wireless
- WLAN Configuration
The naming depends on the router brand.
Step 4: Locate Channel Settings
Look for:
- Channel
- Wireless Channel
- WiFi Channel
You may see separate options for:
- 2.4 GHz
- 5 GHz
Step 5: Select a New Channel
For 2.4 GHz, try:
- Channel 1
- Channel 6
- Channel 11
For 5 GHz, choose a less congested option recommended by your analyzer tool.
Step 6: Save Changes
Click:
- Save
- Apply
- Update
Your router may restart automatically.
Once it reconnects, test your internet performance.
How to Change WiFi Channel on Popular Router Brands
TP-Link Routers
- Log into the admin panel.
- Open Wireless Settings.
- Select a channel.
- Save changes.
Netgear Routers
- Open Router Settings.
- Go to Wireless.
- Choose a new channel.
- Apply changes.
ASUS Routers
- Open Wireless Settings.
- Select the desired band.
- Change the channel.
- Save configuration.
Linksys Routers
- Access Wireless Settings.
- Navigate to Basic Wireless Settings.
- Select a different channel.
- Save settings.
Although interfaces vary, the process for how to change wifi channel remains largely the same.
Should You Use Auto Channel Selection?
Many modern routers include an Auto Channel feature.
Advantages
- Automatic channel selection
- Minimal setup
- Convenient for beginners
Disadvantages
- May choose crowded channels
- Doesn’t always adapt quickly
- Sometimes selects less efficient options
For users seeking maximum performance, manually selecting a channel often produces better results.
Best Channels for 2.4 GHz Networks
The 2.4 GHz band contains overlapping channels.
Because of this, networking professionals commonly recommend:
Channel 1
Good when nearby routers crowd channels 6 and 11.
Channel 6
Often a balanced choice.
Channel 11
Useful when channels 1 and 6 are congested.
Testing all three options can help determine the best performer in your environment.
Best Channels for 5 GHz Networks
The 5 GHz band offers many more channels.
Popular options include:
- 36
- 40
- 44
- 48
- 149
- 153
- 157
- 161
The best channel depends on local network congestion.
A WiFi analyzer provides the most accurate recommendations.
Does Changing WiFi Channel Increase Internet Speed?
Changing channels doesn’t increase the speed provided by your internet plan.
However, it can improve how efficiently your devices use that connection.
For example:
If your internet package provides 100 Mbps but channel interference limits WiFi performance to 40 Mbps, selecting a better channel may help you get closer to the full 100 Mbps.
This is why many users notice dramatic improvements after learning how to change wifi channel.
Common Mistakes When Changing WiFi Channels
Avoid these frequent errors:
Choosing Random Channels
Always analyze nearby networks first.
Ignoring the 5 GHz Band
Many users focus only on 2.4 GHz and miss faster 5 GHz opportunities.
Forgetting to Save Settings
Changes won’t take effect until saved.
Not Testing Performance
Run speed tests before and after adjustments.
Using Outdated Router Firmware
Updated firmware often improves wireless performance and stability.
Additional Tips for Better WiFi Performance
Changing channels is helpful, but combining it with other improvements can deliver even better results.
Place Your Router Correctly
Keep the router:
- Elevated
- Central in the home
- Away from thick walls
Reduce Interference
Avoid placing routers near:
- Microwaves
- Cordless phones
- Bluetooth-heavy devices
Upgrade Older Equipment
Older routers may struggle with modern device demands.
Restart Periodically
An occasional reboot can improve performance and clear temporary issues.
Conclusion
Understanding how to change wifi channel is one of the simplest and most effective ways to improve wireless performance. A crowded channel can cause slow speeds, buffering, and unreliable connections, even when your internet service is excellent.
By identifying less congested channels and adjusting your router settings, you can often enjoy smoother streaming, faster downloads, and more stable connections throughout your home. As many networking experts say, “The fastest fix is often the simplest one.” Learning how to change wifi channel is a small adjustment that can make a surprisingly big difference.